October 07, 2026


A pebble seating area sounds like the simplest job in the garden: dig a hole, tip in gravel, set out a couple of chairs. Then October arrives, the ground turns into a sponge, and the whole thing becomes a shallow pond with a bench in it. What separates a pebble zone that stays firm and dry all winter from one that squelches underfoot comes down to three things — the sub-base, the layers above it, and where the water is allowed to go once it leaves the surface. Get those right and it will look good for years with very little attention.
Before you lift a spade, watch the site in the rain, or tip a bucket of water across it and follow the flow. Water always tells the truth. Note which way the ground falls, where it pools, and whether water is running off a patio or shed roof towards the spot you have in mind.
Then do a simple percolation check. Dig a hole about 300mm square and 300mm deep, fill it with water and let it drain. Refill it and watch how long the second fill takes to disappear. If it empties within an hour or two, the ground is free-draining and you can build a fairly simple system. If it is still sitting there the next morning, plan for a shallow drainage trench or soakaway, or accept that you will need a raised build-up — a pebble surface can only drain as well as the ground beneath it.
While you are at this stage, check for buried services and give some thought to your back:
Mark the outline with a line and spade-cut the edges square and vertical. Depth is where most people come unstuck, because the layers add up quickly. For a seating area that will take occasional foot traffic and a bench, allow roughly:
That is 150–170mm of finished build-up, so dig out around 200–250mm and keep a little in reserve. Too shallow and the pebbles will sit proud of the edging; too deep and you will be carting in more stone than you need.
Build in a fall of about 1:60 to 1:80 — roughly 15–20mm per metre — running away from the house and towards the lowest, most convenient drainage point. On a three-metre-wide area that is a drop of around 50mm across the whole surface, which is barely noticeable underfoot but makes an enormous difference in a downpour. Don't go steeper than about 1:20, or round pebbles will migrate downhill over the winter.
MOT Type 1 is the standard choice, laid in two layers of around 50mm and compacted each time with a plate compactor. Water the surface lightly between passes; it helps the fines bind. Compact in thin layers rather than one thick one, because a single deep layer compacts at the top and stays loose underneath.
If your soil is heavy clay, Type 3 — an open-graded, permeable sub-base — is worth the extra effort. It does not perform quite the same job of load-spreading, but it lets water pass through instead of holding it. Whatever you use, work the fall into the sub-base itself. You cannot create a reliable fall with the pebbles on top; they will simply level themselves out.
Edging does two jobs: it stops the pebbles escaping into the lawn, and it gives the area a crisp, deliberate shape. Timber sleepers, steel edging, brick setts or concrete kerbs all work. Set the top of the edging around 15–20mm above the finished pebble level — enough of a lip to catch rolling stones, low enough that nobody trips over it.
Haunch brick and block edgings on a stiff concrete mix so they cannot push outwards, and make sure your falls still run to a point where water can escape. A completely sealed rim around a pebble area is a bathtub with decorative stones in it. Leave at least one low side, or a gap through the edging, feeding towards a drain or border.
Roll out a permeable geotextile membrane over the compacted sub-base. This is not the same as solid polythene sheeting, which traps water and causes the very problem you are trying to avoid. The fabric stops mud rising and weeds pushing through while letting water drain freely.
On top, spread 20–30mm of 10mm angular gravel. This is the layer that does the quiet work: the angular particles key into each other and stop the smooth decorative pebbles above from rolling, sinking and migrating. Rake it level, then lay your chosen pebbles over the top to a depth of 25–40mm.
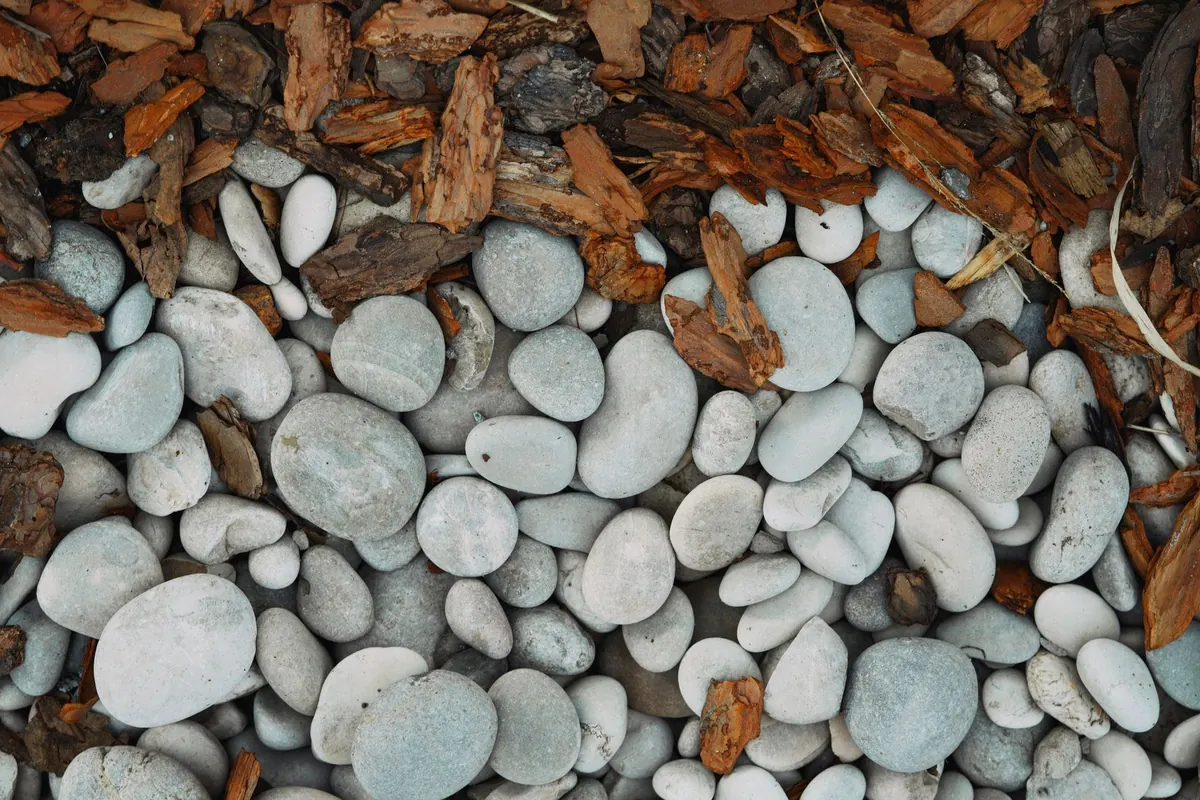
For a seating area, 14–20mm pebbles are comfortable underfoot, whether that is shoes or bare feet. Larger 20–40mm pebbles look bolder and hold their position slightly better on a slope, but they roll about underfoot and are less pleasant to walk on. Avoid tipping smooth pea gravel straight onto the sub-base; without a locking layer it will work its way down and the surface will turn patchy.
If the area is small, you can fill a few sample bags with different pebble sizes and lay them out for a day or two before ordering. Colour and scale look very different in a bag than they do across three square metres.
Some sites simply collect water, and no amount of clever layering will fix a low corner. A shallow French drain handles most of it: a trench around 150mm wide and 300mm deep on the lowest side, lined with geotextile, filled with 20mm clean gravel and containing a perforated land drain pipe. Run it with a fall of at least 1:100 to a soakaway or rain garden.
Set a soakaway well away from the house foundations — as a general rule of thumb, at least five metres — and away from boundaries where it could affect a neighbour's ground. Do not connect a surface-water drain to the foul sewer. Where a patio or downpipe discharges near the seating area, a channel drain across the threshold will intercept the flow before it ever reaches the pebbles.
A well-built pebble area is close to maintenance-free, but not quite. Rake it over once or twice a year to stop the surface compacting and the pebbles collecting in one corner. Top up the layer after winter, since a little always walks off on boots or gets pushed into the borders.
Keep leaves and moss off it in autumn. A layer of damp leaf litter across a pebble surface forms a mat that stops water getting through, and once that happens the drainage you carefully built underneath might as well not be there.
Finally, check the edging each spring. If it has shifted, water will find the gap and start washing the bedding layer out from underneath. A few minutes with a spirit level and a bag of pebbles each year will keep the whole thing looking and working exactly as it did on the day you finished it.
Photo: Anton Klyuchnikov / Pexels

Handcrafted stone benches for gardens and landscapes.
Copyright © 2026 Pebble Bench. All rights reserved. Pebble Bench.