October 07, 2026


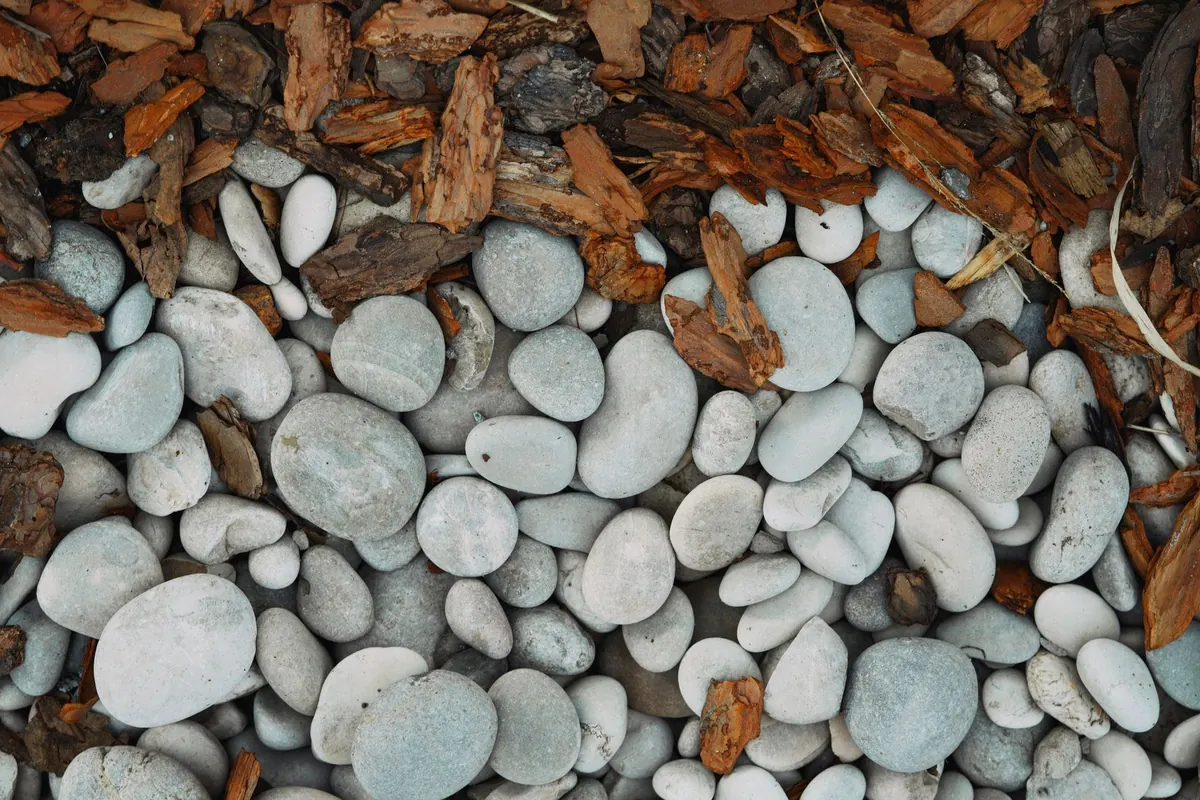
A bench made of pebbles sounds like a contradiction. Pebbles are round, loose and awkward. Benches are meant to be flat, firm and forgiving. Yet a well-made pebble bench manages both: a solid core wrapped in a surface that looks as though it has been sitting there since the tide went out. In UK gardens you tend to find them beside gravel paths, along pond edges, tucked into small courtyards and on top of low retaining walls. Here is what the term actually means, how one gets built, and whether it earns its place in your garden.
Broadly, a pebble bench is any built seat where pebbles form the visible surface rather than being scattered around it. There are two main families, and a hybrid in between.
Mortared pebble benches. Pebbles are pressed into a bed of mortar laid over a concrete slab or blockwork core. Once the joints are pointed and the surface sealed, you have a rigid, sculptural bench that will not shift. This is the classic promenade look, and it works beautifully in a domestic garden when the scale is kept modest — think a metre and a half of seating, not ten.
Gabion pebble benches. A wire basket is filled with pebbles, then capped with a flat stone slab, a length of timber or a thick cushion. Quicker to build, more forgiving of a slightly uneven base, and easier to dismantle if you change your mind. A pebble-topped garden wall sits somewhere between the two.
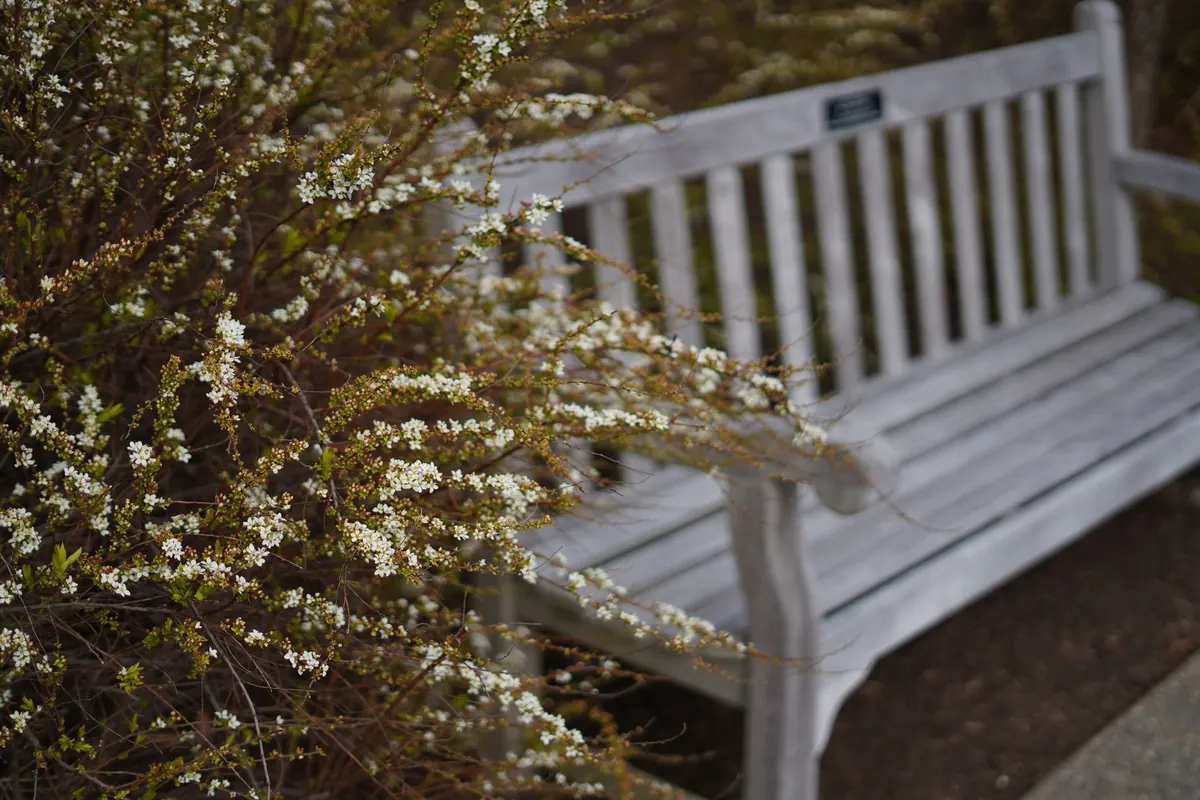
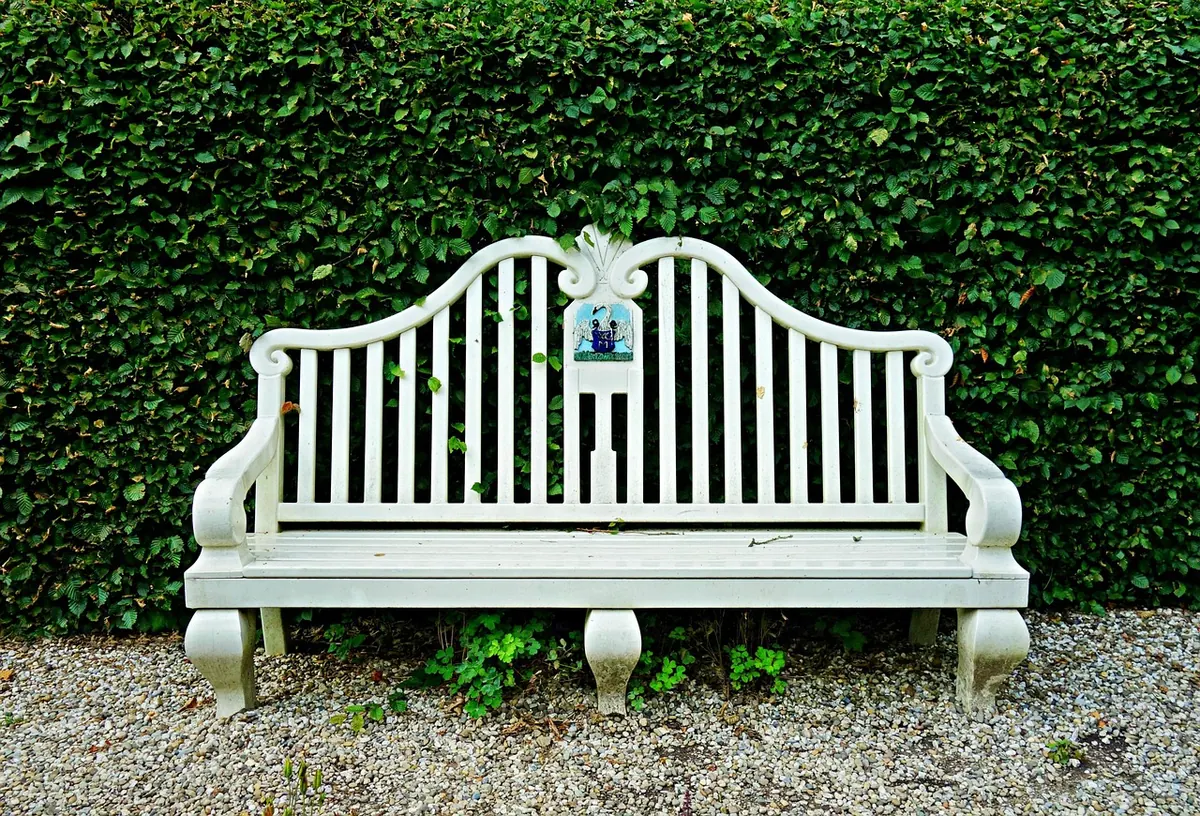
A timber bench standing on a gravel path does not count. The pebbles need to be part of the structure, not the scenery.
The sequence matters more than the materials. Skip the base and the rest will fail within a couple of winters.
If the bench is going against a wall or forming part of a retaining structure, build in a little drainage behind it. Water that pools at the base of blockwork will find its way into the mortar and, eventually, into the joints.
Pebble seating suits gardens with a relaxed, coastal or gravel-garden feel. It looks right beside a wildlife pond or a rill, where the rounded shapes echo the water's edge, and it sits naturally among shingle borders, grasses and drought-tolerant planting such as lavender, thyme and stipa.
Small courtyards are another good fit. A chunky pebble bench gives a tiny space a sense of weight and permanence that a folding chair never will, and the stone holds a little warmth from the afternoon sun. On sloping sites, a pebble bench built on top of a low retaining wall can solve two problems at once: it levels an awkward corner and gives you somewhere to sit and look back up the garden.
What pebble benches dislike is deep, damp shade. Algae and moss colonise the surface quickly, and once it is green it is genuinely slippery. If your only options are north-facing and under trees, choose a gabion version with a smooth capped top rather than a mortared pebble surface.
Comfort is the first thing to be realistic about. Even a neatly laid pebble surface is lumpy, so plan on a cushion or a flat slab as the actual seat. During a heatwave, a sun-facing pebble bench can become uncomfortably hot; in January it will feel cold unless you bring the cushion indoors.
Then there is slipperiness. Wet pebbles, especially larger smooth ones, offer very little grip, and green algae makes matters worse. A sealer helps, but it is not a cure. Choose smaller, slightly irregular pebbles with a rougher texture if the bench will be used in wet weather or by anyone unsteady on their feet.
Weight and groundwork catch people out too. A mortared bench is effectively a small concrete structure, so it needs a proper base and is not something you relocate on a whim. Mortar joints can also crack where tree roots push underneath or where winter frost lifts the ground. Repointing is not difficult, but it is fiddly and time-consuming, and it is the job most owners put off longest. If you are paying someone to build the bench, expect the labour — not the pebbles — to be the largest part of the cost.
Before you commit a weekend to it, walk the garden at different times of day. Note where the sun falls at four in the afternoon, where the ground stays wet, and where you actually want to sit rather than where a bench would look tidy. Measure the space, then measure it again with a chair in place.
Decide early whether you want a mortared surface or a gabion with a capped top, because the two need completely different bases. Order a little more pebble than you think you need — 10 per cent spare is sensible, and having a handful left over makes future repairs far easier. Test your chosen stones in the wet, not just dry, so you know how they behave underfoot.
If the bench forms part of a retaining wall, sits near a boundary, or involves anything structural, take professional advice before you dig. A landscaper or structural engineer can confirm the footings and check whether permission is needed. And if it will be used by children or anyone with limited mobility, keep it low, keep it clear of drops, and treat grip as a priority rather than an afterthought.
Photo: REFARGOTOHP / Pexels
Handcrafted stone benches for gardens and landscapes.
Copyright © 2026 Pebble Bench. All rights reserved. Pebble Bench.