October 07, 2026


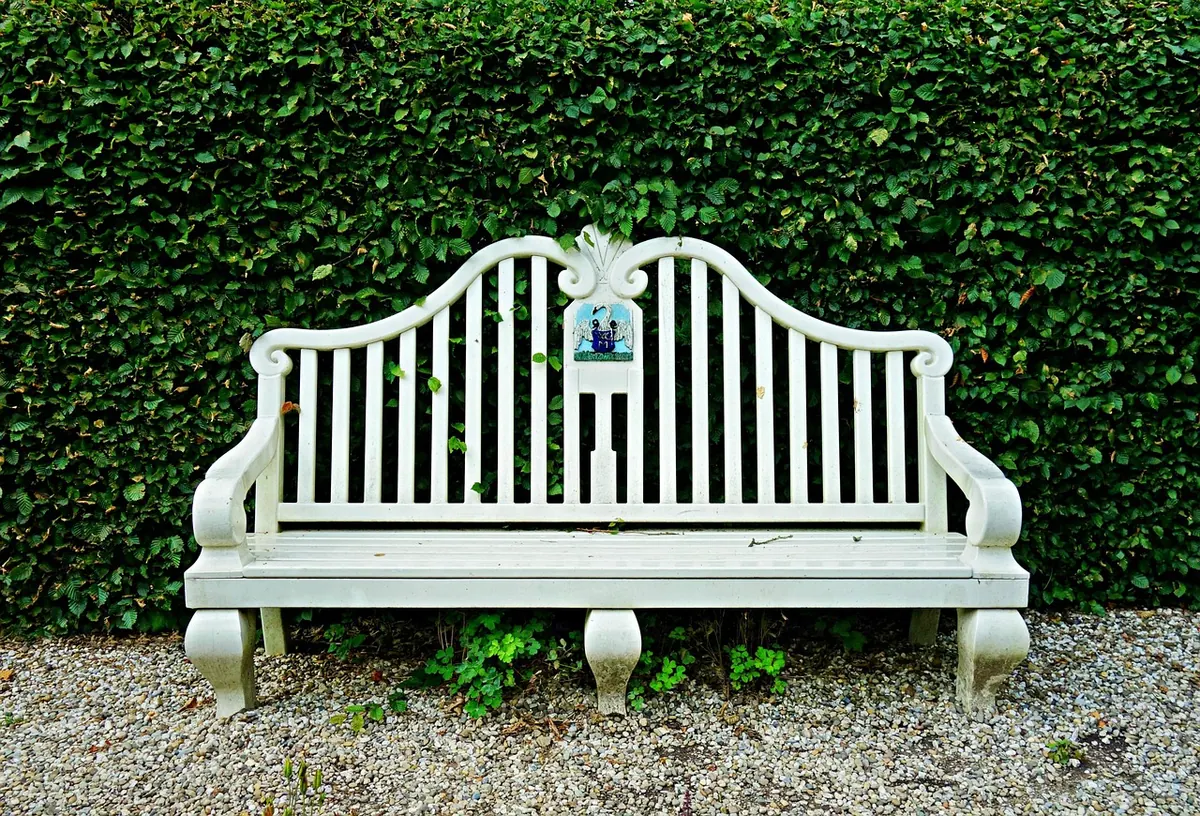
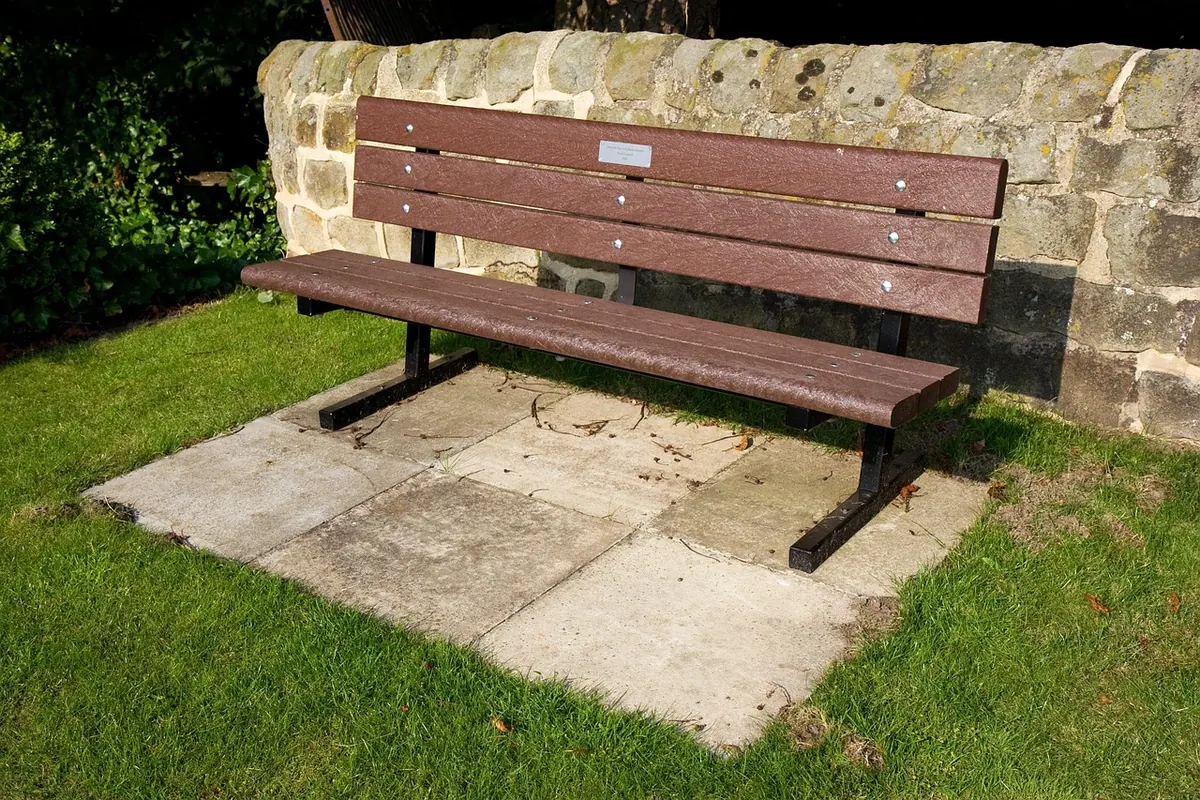
A stone bench set on grass is one of the quickest ways to make a garden feel finished. It also has a quiet habit of going wrong. Nothing dramatic at first — just one leg sitting a little low, a small wobble when someone leans back, a green tidemark along the bottom edge by the second spring.
Almost every problem traces back to four things: the base beneath the bench, the way water moves around it, the mower and strimmer that pass it every fortnight, and the damp that lingers at grass level. None of these are difficult to get right. They are just easy to skip when you are eager to see the bench in place, and much more awkward to correct once the stone has settled into the lawn.
Grass is a surface, not a foundation. A two-seater stone bench can weigh well over 100kg before anyone sits on it, and that load arrives through two or four small feet. Turf, roots and the loose soil below them compress under pressure — faster in a wet autumn, slower in a dry summer — and they rarely compress evenly. The bench settles where the ground happens to be softest, and a lean develops.
Before you commit, cut a small square of turf and dig a spade-depth hole. Crumbly loam, heavy clay, builders' rubble and old tree roots all behave differently, and what you find decides how much preparation the spot needs.
Sinking is the mistake people notice first, and a shallow or undersized footing is nearly always the cause. A slab pushed into topsoil will hold for a few months and then start to move. Build the base properly and the bench stays put for years.
On very soft or waterlogged ground, a small concrete pad poured below the surface is the more reliable option. That is a bigger job, though, and if you are unsure what you are digging into, ask a local landscaper to look before you commit.
The bench itself should sit level. The ground around it should not. If the pad is dead flat and the surrounding lawn falls away in one direction, rainwater will pool against the feet or run under the stone and sit there.
Two habits help. Choose the spot after a wet week, not before — walk the lawn, find where puddles gather, and keep the bench away from them. And avoid positions below downpipes, water butts or a gutter that overshoots in heavy rain. A bench in the drip line of a roof stays damp for months.
If your lawn slopes, resist the urge to prop the short leg on a brick. Sit the whole bench on one level pad and let the ground rise or fall around it. Seat height matters too: most garden benches sit around 450mm at the seat, so a raised pad adds to that. Check the figure for your bench and adjust the excavation depth rather than living with a seat that is too tall to be comfortable.
Chips along the bottom of the legs and a grey fuzzy line on the front edge of the seat are rarely weather damage. They are nylon strimmer line at full speed. Mower wheels and blades do their own version of it, bruising the stone and loosening the pad beneath.
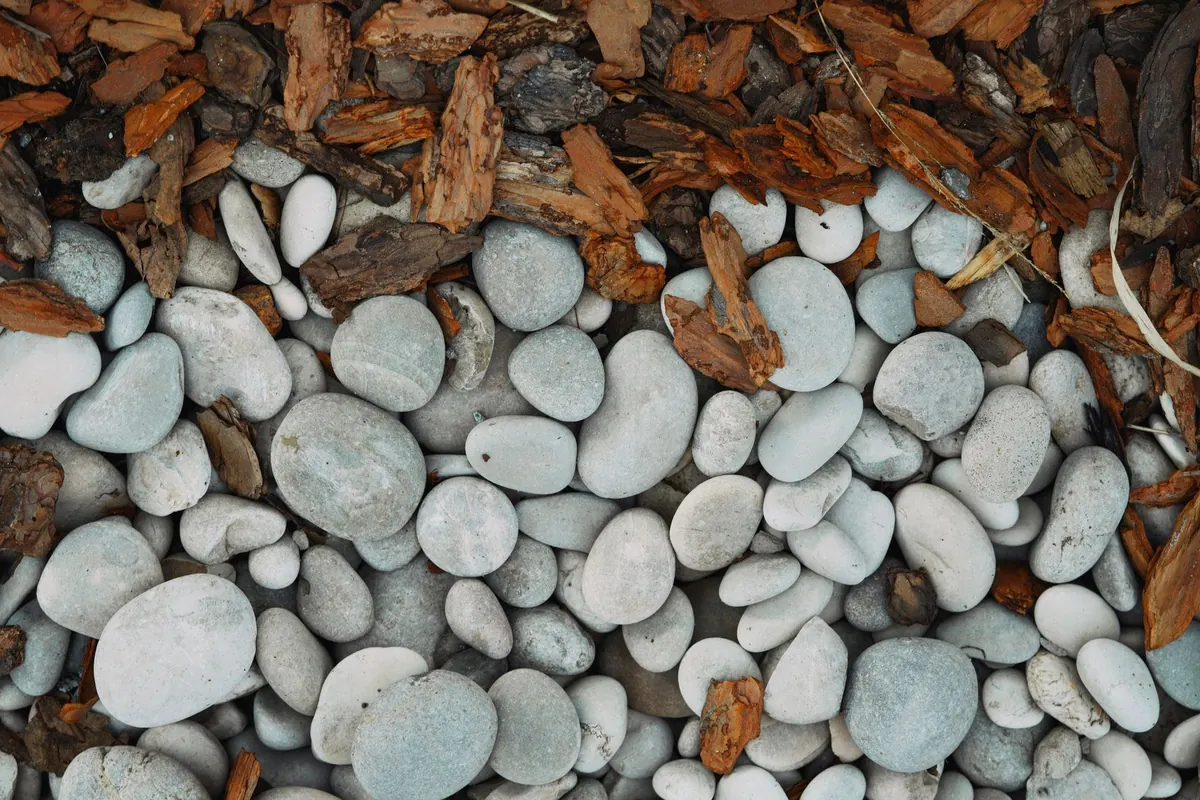
The fix is to separate the bench from the mowing route:
Whatever you choose, keep the grass trimmed back from the stone itself. Wet grass pressed against a bench leg keeps that leg permanently damp.
Stone is porous, and grass stays wet for far longer than most people expect. Left in contact, moisture wicks up into the bottom of the legs and the underside of the seat, which is where you see green algae, dark spotting and, on sandstone and limestone, patches of white efflorescence as salts work their way out.
Raising the bench onto a pad solves most of it by giving the stone an air gap and a dry surface. Beyond that, leave a gap of 25–50mm between the bench and any wall so air can move behind it. Clean with a stiff brush and warm soapy water rather than sealing the stone, and be cautious with pressure washers and acidic cleaners, which can do real harm to softer stone. If the surface is already badly stained, a specialist stone cleaner from a builders' merchant is a safer bet than a homemade mix.
A bench that has started to sink does not always need a full rebuild. Lift the bench — two people for anything stone, and lift the seat rather than dragging it — and check the pad underneath. If the slab is intact and level, the problem is usually the ground below it, so dig out the soft material, re-compact it and re-bed the slab. If the slab has cracked, replace it.
For a wobble, a thin piece of slate slipped under the offending foot will see you through the season, but treat it as a stopgap; the movement will return. For mower damage, add the gravel collar now and keep the strimmer away from the legs. And if the bench sits in a spot that stays wet, moving it a metre or two onto higher ground is often the cheapest fix of all.
Get the base and the drainage right the first time and a stone bench becomes one of the few garden features that asks for nothing but an occasional wipe.

Handcrafted stone benches for gardens and landscapes.
Copyright © 2026 Pebble Bench. All rights reserved. Pebble Bench.